
 David Joseph
Did you know over 10 million artists and designers use Blender? It’s a free tool for 3D modeling, rendering, and visualization. Instead of looking for quick fixes, mastering Blender takes daily practice.
Start with small projects, not trying to learn everything at once. Our guide will help you learn step by step. You’ll get better at the interface, texturing, lighting, and animation. By using the best blender models, you’ll grow faster and build a strong foundation for your career.
Key Takeaways
- Consistent daily practice is more effective than searching for shortcuts.
- Focus on completing small, specific projects to build your skills.
- Master the interface and viewport navigation before moving to complex tasks.
- The software provides a full pipeline for modeling, rendering, and animation.
- Prioritize learning core workflows to improve your visualization capabilities.
Getting Started with Blender
Learning the digital workspace is key for any 3D project. Many blender reviews show its power, but it starts with knowing the environment. Understanding the layout early helps avoid common problems.
Understanding the Blender Interface
The Blender interface is easy to customize but follows a clear structure. You’ll mainly use the 3D Viewport, Properties panel, and Outliner.
The top header has global settings. The toolbars on the left have your most used actions. Exploring these panels makes complex tasks easier.
Navigating the 3D Viewport
Mastering the 3D Viewport is crucial for scene awareness. Hold down the middle mouse button to orbit around models.
Use number pad keys or the navigation gizmo in the top right for different views. Practice these movements to stay on track in complex scenes.
Essential Shortcuts for Faster Workflow
Being efficient is important for artists. Using Blender shortcuts keeps your focus on creativity, not menus.
Make a cheat sheet of Blender hotkeys to keep handy. Memorizing these will make you work faster, letting you refine your designs quickly.
Setting Up Your First Project
A clean project structure is key for every 3D artist. Make sure you have the latest Blender version installed. Having multiple versions lets you test new features without affecting your current work.
Setting up your Blender project right is crucial. It helps you avoid common mistakes that beginners often make. Organize your folders and use clear naming early on.
Choosing the Right Project Template
When you start, you’ll see many project templates. These presets set up your workspace for different tasks. They adjust your settings for things like architecture or animation.
Choosing the right template saves a lot of time. It makes sure your settings are right for your project. This includes units, lighting, and camera settings.
“The quality of your final render is often determined by the discipline you apply during the initial setup phase of your project.”
Importing and Exporting Files
Learning to import Blender files is crucial. Start with simple assets to check your settings. This ensures everything stays the same when moving between software.
When it’s time to export 3D files, check your settings. This makes sure they work with other platforms. Knowing how to do this is more important than the brand of your hardware.
| File Format | Primary Use | Best For |
|---|---|---|
| .blend | Native Project | Internal Work |
| .obj | Static Geometry | Simple Models |
| .fbx | Game Assets | Animation Data |
| .gltf | Web/Real-time | Interactive Apps |
Save your work in organized folders. This prevents data loss. By following these steps, your Blender project setup will be professional and efficient.
Basic Modelling Techniques
Creating your first 3D model is exciting. It’s all about mastering object manipulation basics. Start with simple things like pencils or chess pieces to build confidence. Learning from these familiar shapes helps you grasp the basics without getting lost in complex details.
Creating and Manipulating Objects
To start with Blender modeling, get used to basic tools. You’ll often use move, rotate, and scale to place objects in 3D space. As you get better, explore essential Blender techniques to improve your skills.
When adding details, focus on key operations:
- Extruding: Creates depth by pulling out new geometry from faces.
- Beveling: Smooths sharp edges for a more realistic look.
- Edge Loops: Adds precise detail where needed.
Use Shift + R to repeat actions, saving time. While many look for affordable blenders for kitchens, mastering this software is key for digital assets. Practice one tool at a time to fully grasp its effects.
Using the Sculpting Tools
With basic Blender modeling skills, move to Blender sculpting. This method lets you shape digital clay intuitively. Start with broad shapes, then refine the surface.
Don’t rush to learn all brushes at once. Try a few basic ones to see their effects. Blender sculpting adds character, paired with precise object manipulation. Practice extruding and beveling with sculpting to become versatile in 3D projects.
Texturing and Materials
Materials and textures turn a simple gray mesh into a professional asset. Geometry shapes your object, but surface properties affect how it looks in the world. Learning these tools lets you control your 3D scenes’ final look.
Applying Basic Materials
In Blender, materials are like your model’s skin. You can add a new material by going to the Material Properties tab. There, you can change the base color and roughness to get different looks, like shiny metal or soft plastic.
Try different settings to see how your objects look under various lights. Testing your materials in different settings helps you understand how light interacts with them. Even with fast blenders, perfecting your Blender materials is where the magic is.
Understanding UV Mapping
When you add complex Blender textures, you’ll need to know about UV mapping. It’s like a blueprint that tells Blender how to wrap a 2D image on your 3D model. Without it, textures might look wrong on your model.
UV unwrapping flattens your 3D mesh into a 2D plane for accurate image application. It’s like spreading out an orange skin on a table. Getting good at this is crucial before you tackle more advanced techniques.
As you get better, you’ll find that clean UV layouts make your work easier. Consistency is key for complex models. So, take your time to master these basics.
Lighting Techniques
Mastering Blender lighting lets us control the mood and depth of our digital worlds. Without the right light, even detailed models can look flat or dull.
We use versatile blender features to guide the viewer’s eye and set the scene’s mood. Changing light intensity and color can turn a scene from bright and cheerful to dark and mysterious.
The Importance of Lighting in 3D Scenes
Good 3D scene lighting is key to realism and scale. We place lights to define shapes and add visual interest through shadows.
To check our setup, we use the Blender camera view by pressing zero on the number pad. This view ensures our lighting looks right from the final render’s angle.
Whether we aim for photorealistic rendering or a stylized look, light placement is crucial. A basic three-point setup—key, fill, and rim lights—is a good start for beginners.
Different Types of Lights in Blender
Blender has many light types, each for a specific use in our 3D scene lighting work. Knowing these tools helps us get the look we want for our projects.
| Light Type | Primary Use | Best For |
|---|---|---|
| Point Light | Omnidirectional glow | Light bulbs or candles |
| Sun Light | Parallel rays | Daylight and outdoor scenes |
| Spot Light | Focused beam | Stage lights or flashlights |
| Area Light | Soft, rectangular emission | Studio and photorealistic rendering |
Trying out these options helps us feel more confident with light manipulation. We suggest starting with simple setups before tackling complex, multi-light scenes in Blender.
Rendering Your First Scene
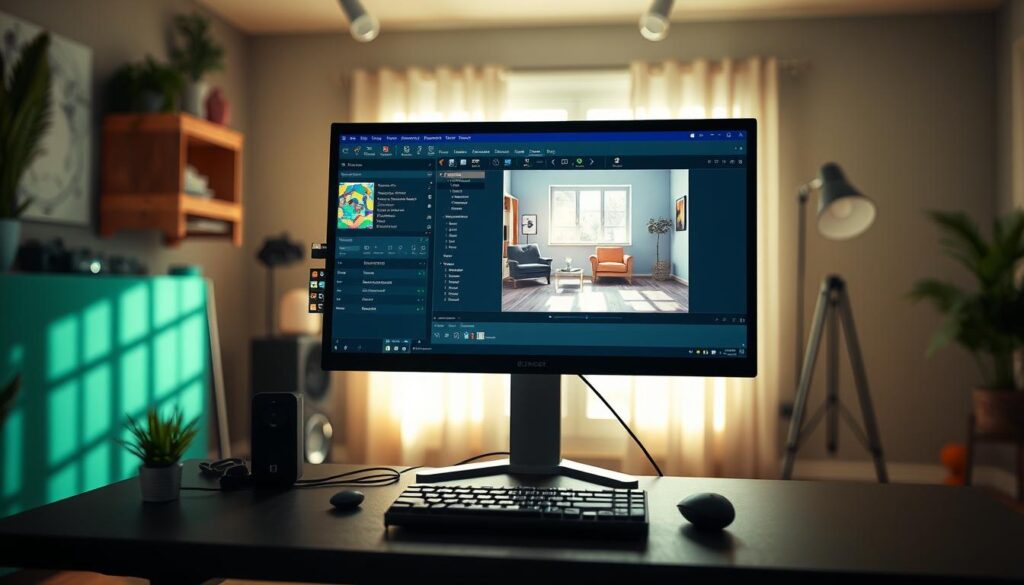
After your models are ready, it’s time to turn them into stunning images or animations. This is where all your hard work pays off. You’ll see your raw geometry transformed into a beautiful visual piece. For the best tools, check out our Blender resources to get your setup ready for production.
Choosing a Rendering Engine
Picking the right rendering engine is key. It depends on your hardware and what you want to achieve. We often choose between Cycles and Eevee, two popular blender options.
Cycles is great for realistic lighting and reflections. It’s perfect for high-end visuals. On the other hand, Eevee is fast and good for quick previews or stylized projects. Think about your computer’s GPU when picking an engine.
Adjusting Render Settings for Quality
To get high render quality, you need to tweak some settings. Start by adjusting the resolution and sample counts. This balance affects how clear your image is and how long it takes to render.
Always do test renders before the final version. These small tests help spot issues like noisy shadows or missing textures. You can also use denoising to improve graininess without needing too many samples.
After rendering, you might want to composite your image. This step lets you mix different render passes, tweak colors, and add effects. By mastering these render settings, your projects will look professional.
Animation Basics
Using Blender to bring 3D models to life is incredibly rewarding. It turns static scenes into engaging stories. If you’re ready to learn more, check out Blender animation resources to improve your skills.
Keyframes and Motion
Keyframes are at the core of movement in Blender. They mark specific moments in time for an object’s properties. When you set two keyframes, Blender creates smooth motion between them.
To begin, move your object to a starting point and press a shortcut to insert a keyframe. Then, move the timeline forward, adjust the object, and set a second keyframe. The software handles the heavy lifting by filling in the frames between your chosen points.
Simple Animation Techniques
Start with basic exercises before tackling complex projects. Try animating a simple cube to bounce, rotate, or slide. These tasks help you grasp how timing and spacing impact your motion graphics.
Once you’re comfortable with the basics, explore more advanced areas. This includes rigging for characters, complex simulations for physics, or using particles for effects like fire and smoke. Mastering these basics lays a solid foundation for any creative endeavor.
Using Add-ons for Enhanced Functionality
You can greatly improve your Blender workflow by adding special add-ons. These tools let you use Blender’s full potential without learning every feature. They automate tasks, so you can focus on being creative.
Popular Add-ons for Beginners
There are many beginner Blender tools that are ready to use but hidden. They are great for boosting your Blender productivity without making things too complicated.
- Node Wrangler: This is key for handling complex material setups and shader nodes.
- LoopTools: It offers advanced mesh modeling tools that make complex geometry easier.
- F2: This tool makes filling faces and managing vertices much faster.
“The greatest power of open-source software lies in the community’s ability to build tools that solve real-world problems for everyone.”
How to Install and Enable Add-ons
Adding new Blender add-ons is easy but needs attention. Go to Edit menu, then Preferences, and click Add-ons. You can search for tools or install a file from your computer.
After installing, make sure to check the box next to the add-on to enable it. It’s important to see the new tools in menus like the N-panel or right-click menu. Always test new tools in a copy project first, as they might change your Blender workflow or cause issues.
Before using a new tool, check its documentation and how well it’s maintained. Using well-supported Blender extensions keeps your projects stable. By picking the right tools, you keep your workspace clean and efficient for all your 3D projects.
Community Resources and Learning
Mastering 3D design takes time and effort. It’s important to keep practicing and exploring. Use the wide range of support available to artists.
Expanding Your Skill Set
High-quality Blender tutorials can guide your growth. Look for Blender courses that match your goals. Start with simple examples to learn the basics without getting lost in complex tools.
Connecting with Peers
The Blender community is full of knowledge. You can find answers to common problems on the Blender Stack Exchange. Join Blender user forums to share your work and get feedback from others.
Tracking Your Growth
Keep a project diary to track your progress. Write down your daily achievements, discoveries, and questions. This log becomes a valuable resource for your 3D art journey.