
 David Joseph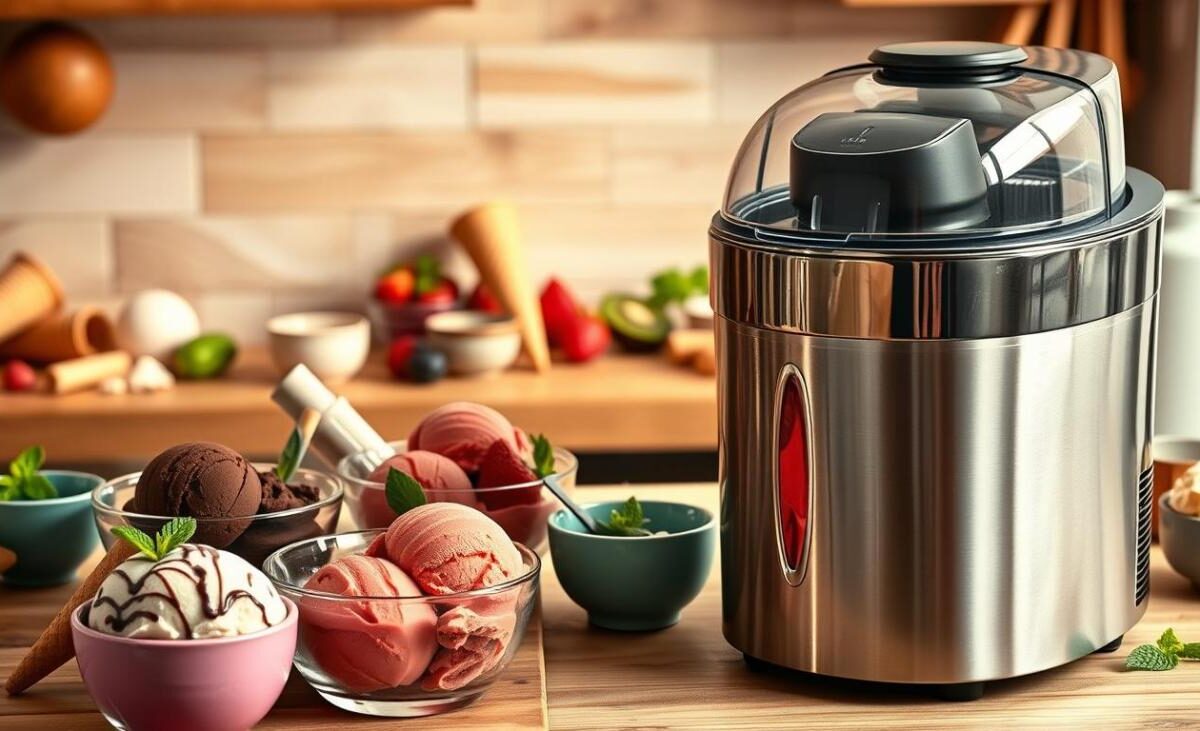
Did you know over 1.5 billion gallons of frozen treats are made in the U.S. every year? We enjoy making our own tasty desserts at home. A top-notch ice cream maker makes it easy and very rewarding.
To make a creamy base, you need milk, heavy cream, sugar, vanilla, and a bit of salt. This way, you skip the egg-cooking step, saving you lots of time. You can get ready in under 10 minutes.
Our guide covers picking the best equipment and learning to churn like a pro. We also share tips on storing and adding unique flavors to make your desserts stand out. With the right ice cream maker, you’ll get amazing results every time.
Key Takeaways
- Use a simple Philadelphia-style base with only five basic ingredients.
- Complete your active preparation in less than 10 minutes.
- Select the right equipment to ensure a smooth, creamy texture.
- Master the chilling and churning process for optimal results.
- Experiment with unique mix-ins to customize your frozen desserts.
Why You Need an Ice Cream Maker at Home
Getting the best ice cream maker turns your kitchen into a fancy dessert shop. You get to pick every ingredient, texture, and sweetness. This means your ice cream is always just right for you.
Benefits of Homemade Ice Cream
Making your own ice cream lets you use the freshest, best ingredients. Unlike store ice cream, yours has no artificial stuff. You can pick organic dairy, fresh eggs, or plant-based options for a healthier and tastier treat.
Cost-Effectiveness Compared to Store-Bought
Buying the best ice cream maker might seem pricey at first. But for those who love desserts, it’s worth it. Store-bought ice cream is often pricey and mostly air. Making your own saves money over time.
- Lower cost per scoop compared to premium brands.
- Ability to buy ingredients in bulk for further savings.
- Reduced need for expensive, pre-packaged specialty desserts.
Flavor Customization Options
Home machines offer endless creative freedom. Start with a simple vanilla base and add unique touches. You can make anything from classic flavors to bold new ones.
Try adding these to your next batch:
- Fresh strawberries or seasonal fruit sauces.
- Chewy brownie chunks or cookie dough pieces.
- Crunchy toasted nuts or dark chocolate chips.
Different Types of Ice Cream Makers
Whether you love making ice cream or just enjoy it, knowing the types of machines is key. Choosing the right ice cream maker can change how you make frozen treats at home. We’re here to help you figure out if a professional ice cream maker is right for you.
Electric vs. Manual Models
Manual churners give you a nostalgic, hands-on experience that families love in summer. They need you to turn the crank, which is fun for kids and adults. But, electric models make it easier by doing all the work for you.
Electric machines are great for making ice cream all year. They save you time and effort, letting you focus on new flavors. Consistency and ease of use make electric models a better choice than manual ones.
Compressor Ice Cream Makers
Compressor-based machines are perfect for those who want speed and convenience. They freeze the mixture inside, so you don’t need to pre-freeze a bowl. This is a key feature of a top-notch professional ice cream maker.
These machines can make batch after batch without waiting. This is great for parties or trying out many recipes at once. Even though they’re bigger and pricier, the time-saving benefits are huge for those who make ice cream often.
Ice and Salt Makers
Ice and salt makers are the go-to for big batches of ice cream. They’re perfect for outdoor events or big family gatherings where you need lots of dessert. They use ice and salt to cool the canister fast.
But, they need a lot of ice and salt to work, and cleaning them up is harder than other machines. They don’t have the automation of a professional ice cream maker. Yet, they can make huge amounts of ice cream for special events.
Features to Look for in an Ice Cream Maker
Choosing an affordable ice cream maker is more than just the cost. It’s about finding a tool that fits your lifestyle. The real value of a machine is how well it works in your kitchen.
Capacity and Size Considerations
Think about how much frozen dessert you want to make at once. If you often host parties or have a big family, a four-quart model is best. It ensures everyone gets a serving.
If you have a small kitchen or prefer making small batches, a two-quart machine is better. These compact units save space and are great for everyday cravings.
Ease of Use and Clean-Up
Maintenance is key when picking an affordable ice cream maker. Look for models with removable parts that are dishwasher-safe. This makes cleaning up after dessert easier.
Some machines are easy to use, with just one button. Make sure the design lets you easily access the mixing paddle. This is where most residue builds up.
Speed of Ice Cream Production
The speed of your machine depends on its cooling technology. Many affordable options use a freezer-bowl design. You need to pre-chill the canister for at least 12 hours before using it.
This advance planning is crucial for the right consistency. If you want instant results, consider a compressor model. But these are usually more expensive than freezer-bowl versions.
Top Ice Cream Makers on the Market
Choosing a top rated ice cream maker means finding the right balance. Look at bowl size, control options, capacity, and how well it churns. These factors are key before you buy.
Knowing how these machines work helps you pick the best one. Whether you want speed or can make lots at once, there’s a machine for you.
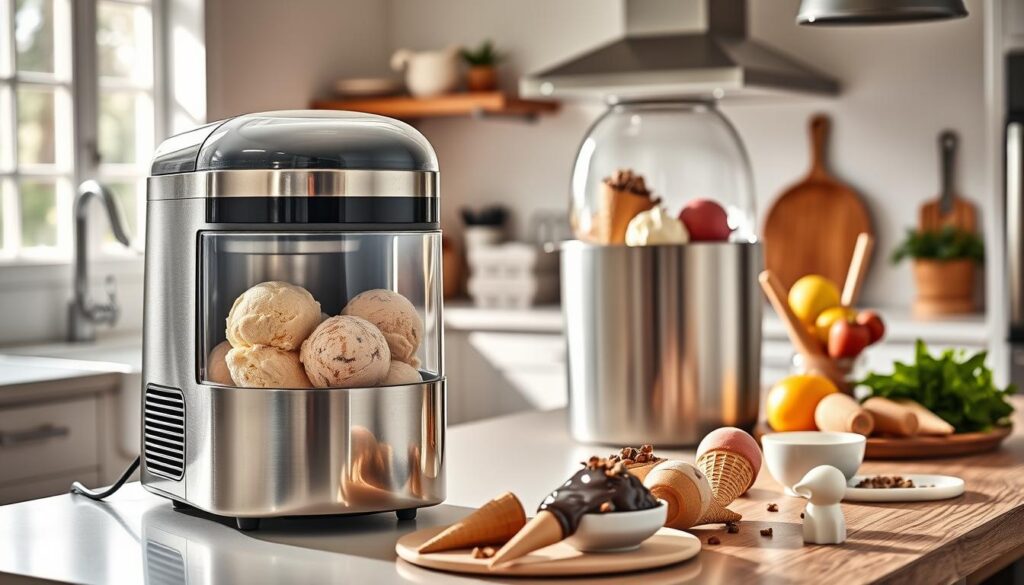
Cuisinart ICE-30BC Ice Cream Maker
The Cuisinart ICE-30BC is a reliable workhorse for home use. It’s easy to use, making it great for beginners. You get consistent results without fuss.
This model is perfect for making standard batches. It’s simple to use, so you can enjoy your treats sooner.
Breville BCI600XL Smart Scoop
The Breville BCI600XL Smart Scoop offers a highly advanced experience. It has a built-in compressor, so you don’t need to freeze a bowl beforehand.
This makes it easy to churn batch after batch. It’s ideal for those who want to try different flavors and textures.
Nostalgia ICMP400BLUE Ice Cream Maker
The Nostalgia ICMP400BLUE is great for big gatherings, with a generous four-quart capacity. It uses ice and salt to make creamy ice cream, just like grandma used to make.
It takes a bit more prep than others, but it’s perfect for parties. It’s a favorite for serving large groups quickly and efficiently.
Tips for Making Great Ice Cream
The secret to making top-notch ice cream is in preparing your base well before freezing. Using an electric ice cream maker requires quality ingredients and timing.
Choosing the Right Ingredients
Quality is key for a great dessert. Use full-fat heavy cream and whole milk for a smooth texture. This helps avoid icy crystals.
Sweeten with cane sugar and add a pinch of salt for flavor. Pure vanilla extract adds a classic aroma. But, choose high-quality vanilla to avoid a bad taste.
Temperature and Mixing Techniques
Getting your base ready is crucial. Warm it gently on the stove until the sugar dissolves. Avoid overheating to keep the dairy proteins intact.
Chill the base well before churning. Refrigerate it for at least two hours. Overnight chilling is best for your electric ice cream maker.
Churn Time for Optimal Texture
Churning time affects the texture. Modern units churn for 20 to 30 minutes for a soft-serve texture.
Older ice-and-salt machines take longer, 30 minutes to an hour or more. Watch the texture to avoid over-churning, which can make it too hard.
| Machine Type | Typical Churn Time | Best Result |
|---|---|---|
| Electric Countertop | 20–30 Minutes | Smooth & Creamy |
| Compressor Unit | 25–40 Minutes | Dense & Rich |
| Ice and Salt | 30–60+ Minutes | Traditional Texture |
Popular Homemade Ice Cream Recipes
Learning a few basic recipes opens up a world of possibilities for your ice cream. A top-notch ice cream machine lets you control every detail. This foundation is key for endless kitchen adventures.
Classic Vanilla Bean
A simple vanilla base is perfect for any ice cream lover. You can pick between vanilla extract for a light taste or a split vanilla bean for a fragrant touch.
For the best results, gently heat your dairy mix before cooling it. This step makes the vanilla flavor richer in your ice cream.
Decadent Chocolate Fudge
If you love intense flavors, try a chocolate fudge recipe. Mixing premium cocoa powder with melted chocolate chips gives the best taste.
This mix creates a smooth, creamy texture that store-bought ice cream can’t match. Here are some tips for your chocolate ice cream:
- Whisk cocoa powder into warm milk to avoid lumps.
- Add finely chopped chocolate chips during the last churning minutes.
- Use high-fat cream to balance the cocoa’s bitterness.
Fruit Sorbet Variations
Fruit sorbets are great for a light, refreshing treat. You can use seasonal fruits like strawberries, blueberries, raspberries, peaches, or lemons.
The key to a great sorbet is the right mix of ingredients. Keep these tips in mind:
- Adjust sugar levels: Fruit sweetness changes, so taste before freezing.
- Manage liquid content: Too much water makes it icy, so use pureed fruit.
- Acid balance: A bit of fresh lemon juice can enhance berry and stone fruit flavors.
By tweaking these ratios, you’ll get a smooth sorbet every time. Feel free to mix fruits to find your favorite flavors.
Common Mistakes to Avoid
We’ve looked at many ice cream maker reviews to find common mistakes. Even with the best equipment, small mistakes can ruin your dessert. Making great ice cream takes patience and following basic steps.
Over-Mixing the Ice Cream Base
It’s easy to keep mixing until it looks solid. But this can add too much air or make the fat separate. Always check the consistency instead of just using a timer.
“Cooking is a subject you can never know enough about. There is always something new to discover.”
Ignoring Temperature Guidelines
Many people check ice cream maker reviews after their first batch fails. Not chilling the base is often the problem. Chill your mixture for at least two hours, or overnight, to emulsify fats correctly.
Pouring a warm base into your machine makes it harder for the motor. It also stops ice crystals from forming properly. Consistency is key for a creamy texture. If the base is warm, your ice cream will be slushy or grainy.
Not Chilling the Bowl Properly
The freezer bowl is crucial, and it needs time to freeze. Beginners often think a few hours is enough. But it must be frozen for at least 12 hours to churn properly.
If the bowl isn’t cold enough, your base will melt too fast. This makes your ice cream too thin. Plan ahead by keeping your bowl in the freezer at all times.
How to Store Homemade Ice Cream
Storing your frozen treats right can make a big difference in taste. After using your homemade ice cream maker, the mix is soft and ready for the freezer. A few extra steps during freezing can make your dessert even better.
Best Containers for Freezing
The best container is a shallow, airtight, freezer-safe one. Shallow containers help the ice cream freeze evenly and fast. This prevents big ice crystals from forming. Choose high-quality plastic or stainless steel to protect your dessert from the freezer.
Keeping Ice Cream Fresh for Longer
To keep it creamy, reduce air exposure. Press plastic wrap or foil on the ice cream’s surface before sealing. This barrier keeps moisture in and the texture smooth.
Stored right, your ice cream stays good for up to a month. Keep it in the back of the freezer for consistent temperature. Avoid the door area to prevent quality loss.
Signs of Ice Cream Spoilage
Knowing when ice cream goes bad is key. Look for severe crystallization or a grainy feel. Unusual smells or colors mean it’s time to throw it away.
Freezer burn can also happen. It’s not dangerous but can change the taste. Watch for these signs to serve fresh, tasty ice cream every time.
Fun Add-Ins and Mix-Ins to Try
Turning a simple vanilla base into a gourmet treat is easy. The best time to add your favorite ingredients is right after churning. At this point, the ice cream is soft enough to mix in without losing its texture.
For the best results, add about two to two and a half cups of mix-ins. This amount ensures every scoop is full of flavor without ruining the ice cream’s structure.
Nuts and Chocolates
Adding nuts or chocolates can make your dessert much better. Try using toasted almonds or salted peanuts for a nice crunch. For a richer taste, mix in brownies or high-quality chocolate chip cookies.
These solid ingredients keep their shape when frozen. Chop them into small pieces so they spread out evenly in your ice cream.
Fresh Fruits and Flavors
Fresh fruit adds a natural sweetness to your ice cream. Make a thick strawberry or blueberry compote before adding it. This prevents ice crystals from forming.
Coconut flakes or citrus zest can also add a refreshing twist. They work well with fruit-based or simple sweet cream recipes.
Swirls, Sauces, and More
Swirls of sauce can make your ice cream look and taste amazing. Drizzle hot fudge or salted caramel into the container as you transfer the ice cream. Use a butter knife to swirl the sauce for a marbled look.
Don’t over-mix at this stage. You want to keep the flavors separate. Here’s a quick guide to pair your favorite mix-ins with the perfect base:
| Base Flavor | Recommended Mix-In | Sauce Pairing |
|---|---|---|
| Vanilla Bean | Brownie Chunks | Hot Fudge |
| Sweet Cream | Toasted Almonds | Salted Caramel |
| Strawberry | White Chocolate Chips | Strawberry Compote |
| Coconut | Dark Chocolate Shavings | Blueberry Compote |
Ice Cream Maker Maintenance and Care
Proper care for your ice cream machine is key to making delicious ice cream every time. By taking a few minutes for routine upkeep, your machine will last for years. It will always be ready to help you make tasty treats.
Cleaning Tips for Longevity
Most ice cream makers have removable canisters and paddles that are easy to clean. Wash these parts with warm, soapy water right after use. This stops sticky residue from becoming hard.
Don’t put the motor housing or electrical base in water. It will get damaged. Just wipe the outside with a damp cloth to keep it clean and dust-free.
Troubleshooting Common Issues
If your ice cream doesn’t thicken, it might be because the bowl wasn’t frozen enough. Make sure your canister is in the coldest part of the freezer for at least 24 hours before starting.
Another problem is a base that’s too warm when you pour it in. Chill your mixture in the fridge until it’s cold. This helps the churning process.
For ice-and-salt models, watch the mixture during long cycles. If the ice melts too fast, the machine won’t freeze properly. This can make your ice cream too runny.
Seasonal Storage Best Practices
When you’re not using your machine, make sure all parts are completely dry before storing. Moisture can cause bad smells or mold.
Keep your device in a cool, dry spot, away from sunlight and heat. Wrap the cord neatly to prevent fraying and keep it safe.
| Maintenance Task | Frequency | Action Required |
|---|---|---|
| Canister Cleaning | After every use | Hand wash with mild soap |
| Motor Housing | Monthly | Wipe with a damp cloth |
| Freezer Bowl Check | Before each batch | Ensure no liquid sloshing |
| Long-term Storage | Off-season | Dry thoroughly and cover |
Ice Cream Maker Recipes for Special Diets
Creating tasty frozen treats at home is easy, no matter your diet. Use your Cuisinart or Breville to make desserts for vegans, keto fans, or those with allergies.
For dairy-free ice cream, use coconut milk, oat milk, or almond cream. These bases give a creamy texture. To keep it low in sugar, watch the churning closely. You might also try a versatile yogurt maker for more healthy snacks.
Plant-Based and Vegan Alternatives
Replace dairy with nut or soy milks in most machines. These bases create rich, tasty ice cream that meets any craving.
Low-Sugar and Keto-Friendly Methods
Use sugar substitutes like erythritol or stevia for guilt-free treats. Watch the churning time, as these sweeteners change how it freezes.
Safe and Allergy-Conscious Creations
Homemade ice cream lets you control every ingredient. You avoid hidden allergens by choosing your ingredients. This makes every batch safe for your family.
Chill your base well before starting. Don’t go over your bowl’s capacity to avoid spills. Churn until it’s soft-serve, then freeze in an airtight container. Enjoy making your own special recipes today.